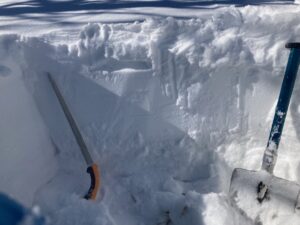
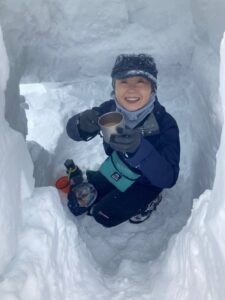
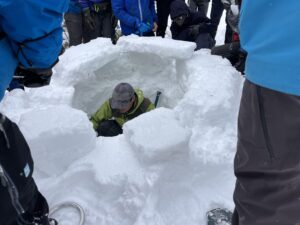
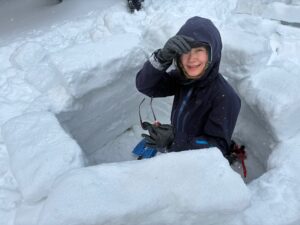
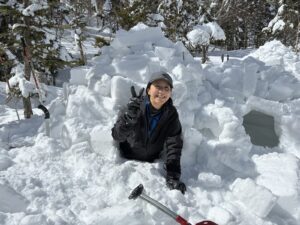
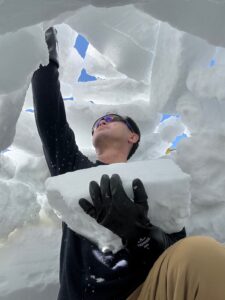
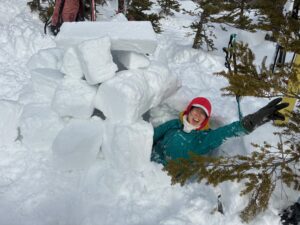
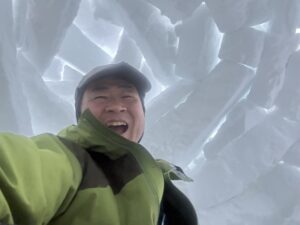
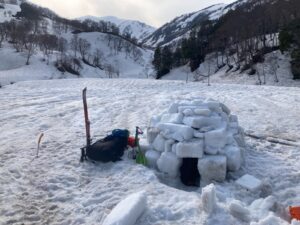
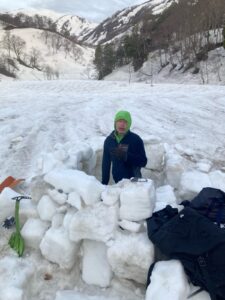
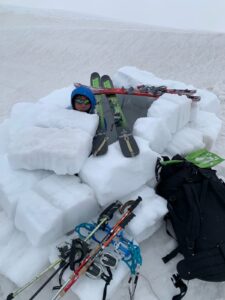
ブロックはまあまあ固くて重かったけど、わりとしっかりしたものが切れたので、つい作ってしまったイグルー。The blocks were fairly solid and heavy, but they cut well and held together nicely, so I ended up building the igloo almost without thinking
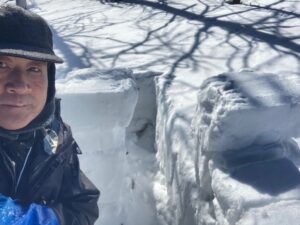
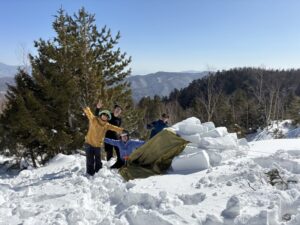
翌朝の崩落あと。この程度に作っておいてタープを被せておけばよかったです。The collapsed roof the next morning. I should’ve just left it at this level and covered it with a tarp
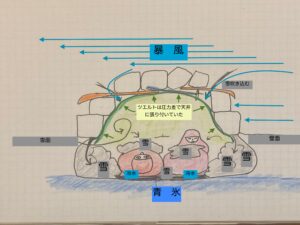
Warm Weather and a Collapsing Ceiling
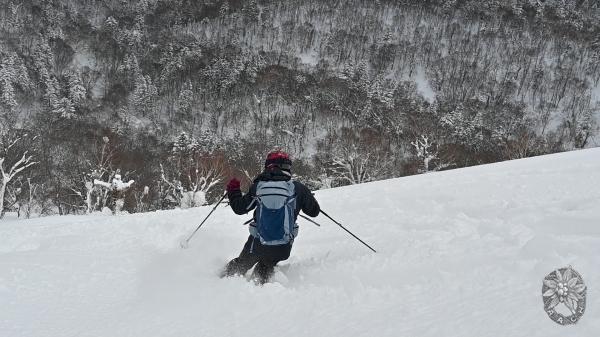
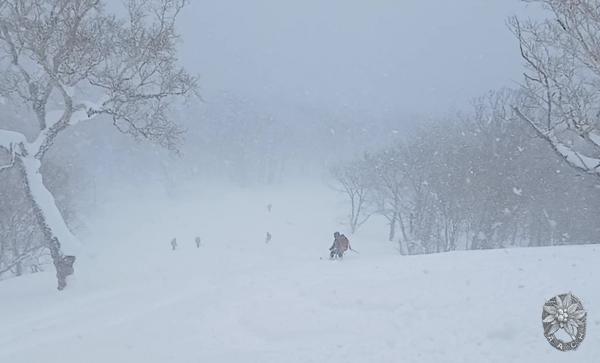
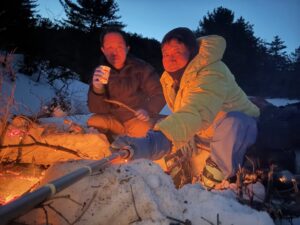
This happened the day after my last outing. I skied down from Mt. Asahi on the northern ridge of Mt. Shirouma, descending a 1,000-meter vertical drop on the northeast-facing gully without a break in just 47 minutes. It was a lot of fun. It looked like no one had skied there for about a week. I built an igloo at the foot of the Shirakōchizawa Bridge. There was plenty of snow, but at 1,300 meters elevation, it was warmer than the previous day.
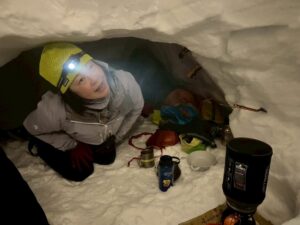
In conditions like this, it’s better to just build walls around you and use a tarp as the ceiling. When it’s warm, the roof will melt and collapse anyway. But since I managed to cut a lot of good snow blocks, I carelessly went ahead and built a roof. I should’ve known better.
Even during cooking, drops of water started dripping from the ceiling blocks above the gasoline stove. Even after I turned off the stove and spread out my sleeping bag, the dripping didn’t stop. I fell asleep anyway, but around 9 p.m., one of the ceiling blocks fell onto my waist. I moved it aside and went back to sleep, but then drips started falling all over the place, soaking my bedding. Even though the temperature wasn’t that low and there was no wind, I was cold and couldn’t sleep well. Around 3:30 a.m., a large part of the roof collapsed, waking me up.
Really, once drips start falling and don’t stop even after you turn off the stove, it’s probably best to just take the roof down. No matter how many years you’ve done this, when you’re tired, it’s easy to get lazy and make bad decisions.
What’s fascinating about staying in an igloo is how the way you use it gradually changes with the progression of the season.
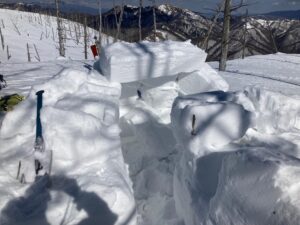
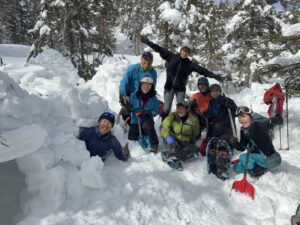
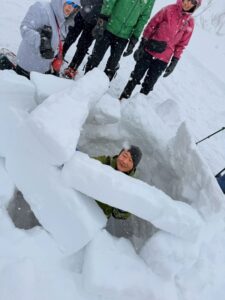
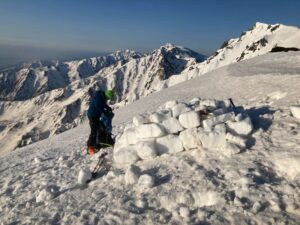
掘り下げ1段で十分ブロックが取れたので壁2段積んだ上は、もうスキーを載せて塞ぎ始める I got plenty of blocks with just one layer of digging, so after stacking up two layers for the wall, I went ahead and started capping it with my skis
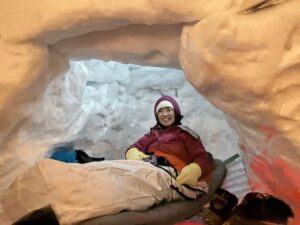
風上を壁にできて吹き込みは無かったが、張りの不十分な張り綱が風でバタバタして猛烈にうるさかった The wall on the windward side kept the draft out just fine, but the guy lines weren’t tight enough, and they flapped like crazy in the wind?it was insanely noisy
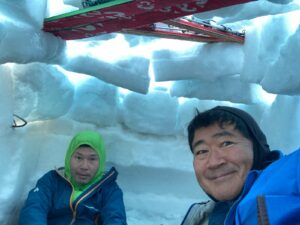
やっぱりイグルーの強みは展望の良いところで泊まれること あんなうるさい風、テントだったら発狂クラスだ What I love about igloos is that you can sleep in places with killer views. That wind was so loud?if I’d been in a tent, I seriously would’ve lost my mind.
Failed Igloo Series in the Lingering Snow Season ? Flapping Tarp in the Wind
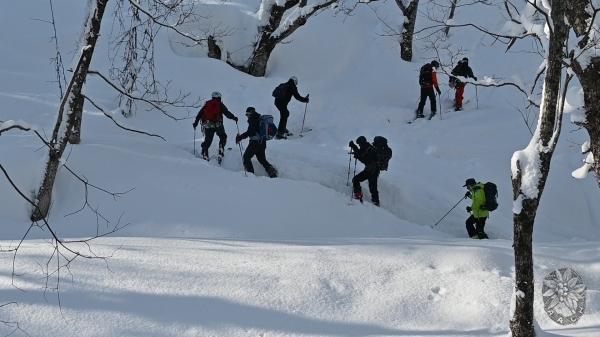
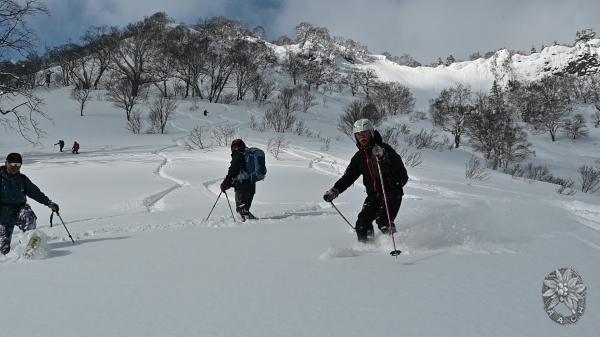
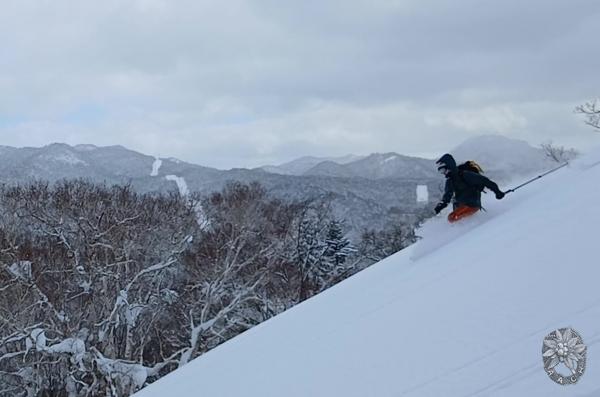
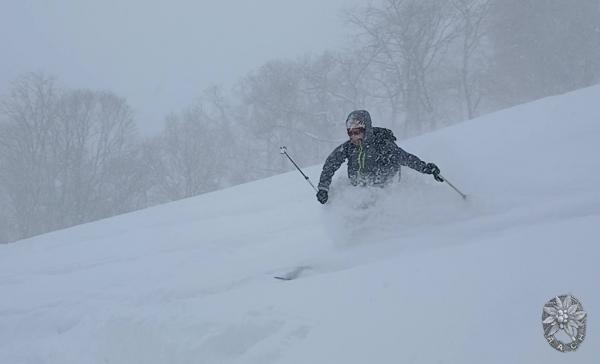
Hakuba in the Snowmelt Season ? Backcountry Heaven
I headed out to the northern part of the Hakuba range during the first half of Golden Week. Even as a seasoned igloo builder?Igluski style?I ended up getting barely any sleep thanks to a failed igloo. I tend to charge ahead with too much confidence, always pushing the limits, so… yeah, learn from my mistakes!
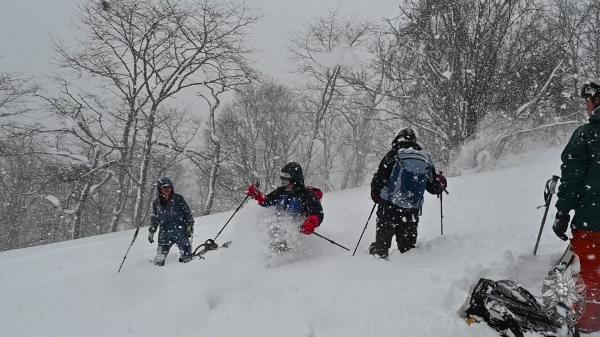
On the ropeway up from Tsugaike, someone suddenly called out, “Sensei!” It was BC-san, who came to my igloo workshop two years ago. They were planning to ski down toward Renge Onsen and explore the area today. I was super happy to hear they’ve been trying out igloos on their own since then!
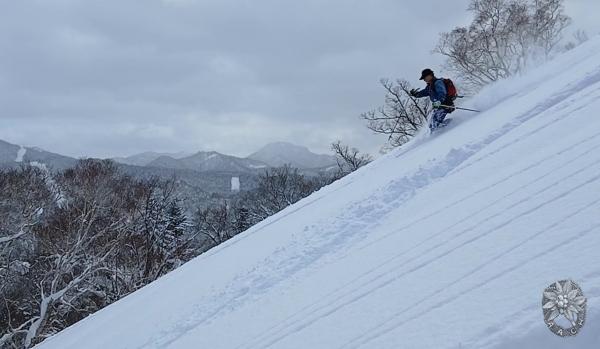
From the Tsugaike marshland, I climbed up to Funakoshi-no-Kashira. There was a nice drift of snow on the leeward side of Point 2719, just southwest of Mt. Kogarasu, so I decided to build there. Turns out the area around Mikuni-sakai is famous for being super windy. Looking back, if I’d walked another 30 minutes, I probably could’ve found a calmer spot… But the ridge ahead looked pretty rocky, and the snow here looked decent, so I went for it.
Fast Roof Build with Skis
It was a gentle slope, so I started cutting blocks upward along the slope. At the bottom, the snow was only about 30 cm deep, but as I dug higher, it naturally turned into a 1-meter wall? a solid windbreak on the upwind side. That part was great, but honestly, I was exhausted. I only managed one row of blocks at the base and couldn’t bring myself to do a second. So yeah, the ceiling was a bit low… but I slapped on my skis and forced the roof blocks into place?same quick trick I used last time.
Tarp On Top = No Drafts, But So Noisy
I didn’t feel like stuffing all the gaps with snow, so I just threw a tarp over the top, anchoring the four corners with an ice axe and crampons. On the windward side, I piled snow blocks on the tarp edge to keep it down. Crawled in early, hoping for some rest…
But nope. The wind was crazy, and the tarp kept flapping loudly all night long. One thing I love about igloos is how peaceful they are compared to tents. But even with snow’s soundproofing, it was still loud. I thought I’d tightened the guy lines well, but in the morning, I found the leeward side had ripped? I hadn’t pulled it tight enough.
With wind like that, I should’ve pitched the tarp (or even a bivy) inside the igloo instead of outside, using the suction effect from the wind pressure to keep it in place. (Like I wrote about in a previous post.) But man, I was too wiped out to think straight.
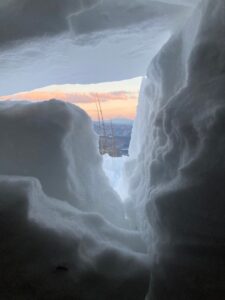
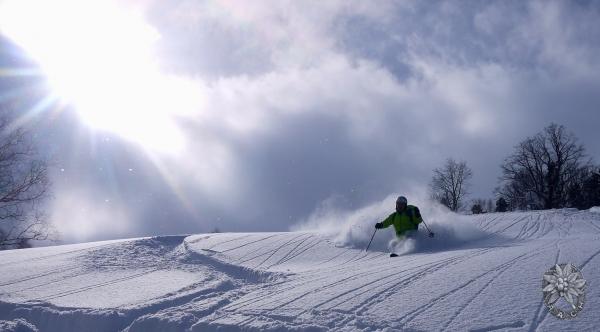
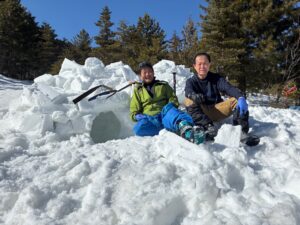
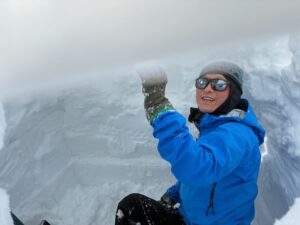
Still, the view made it all worth it. I got to watch the Hakuba peaks glowing in the morning sun, right through my little igloo window.
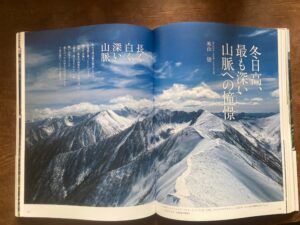
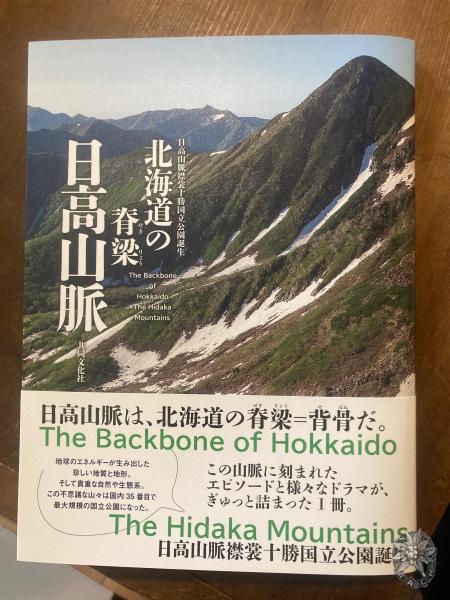
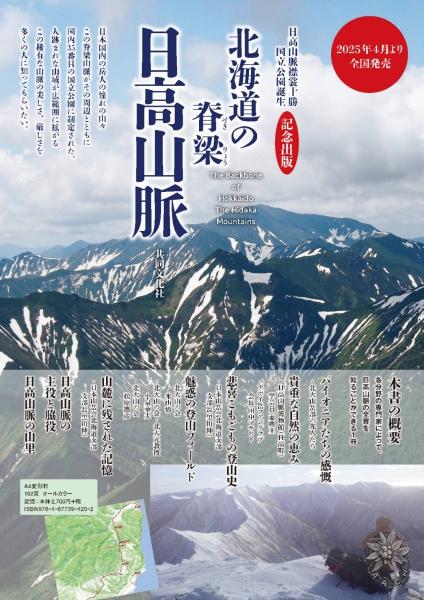
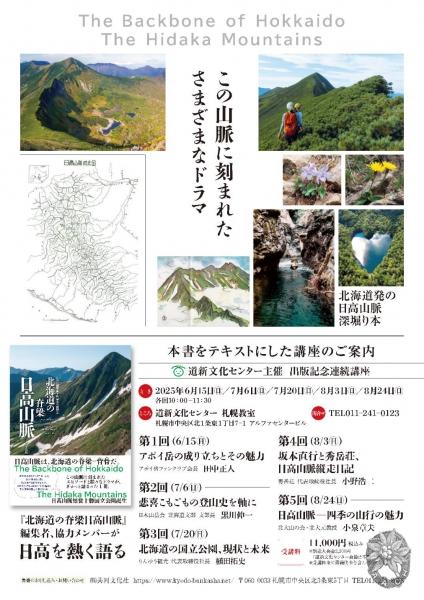
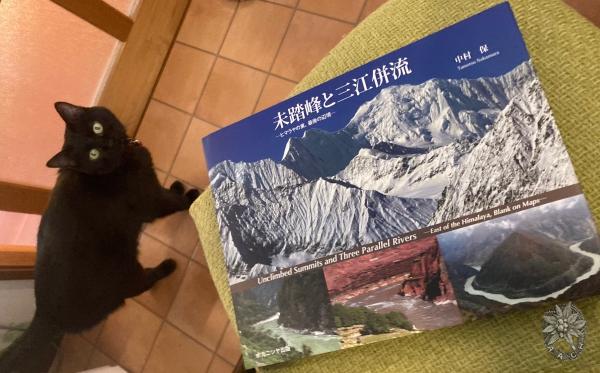
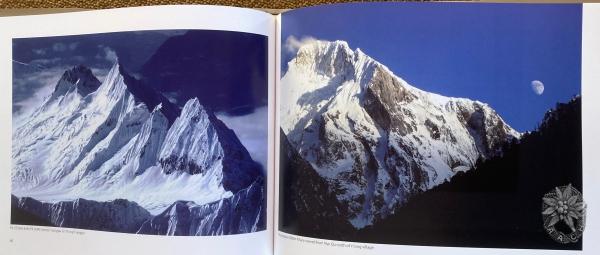
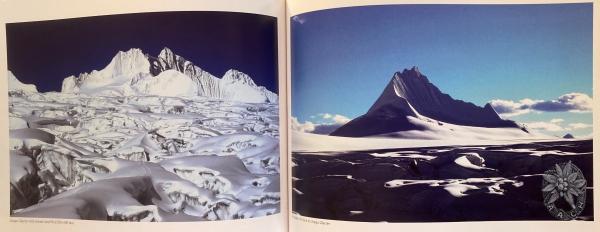
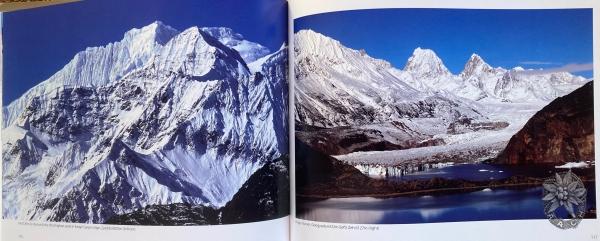
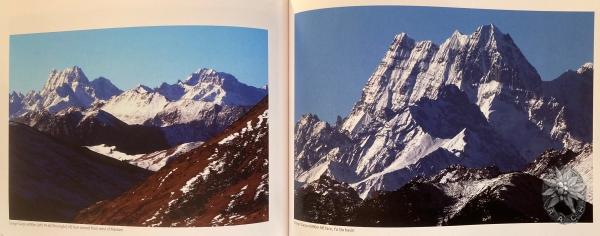
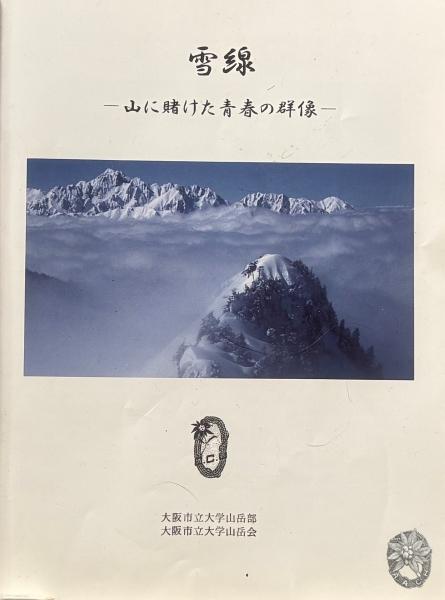
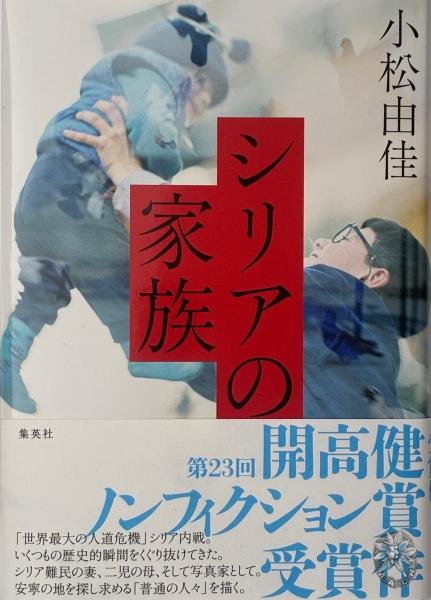
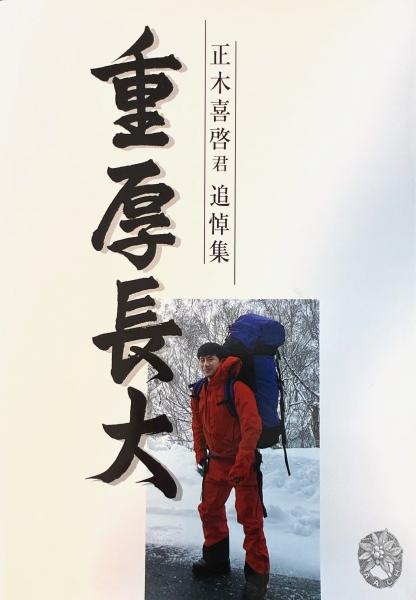
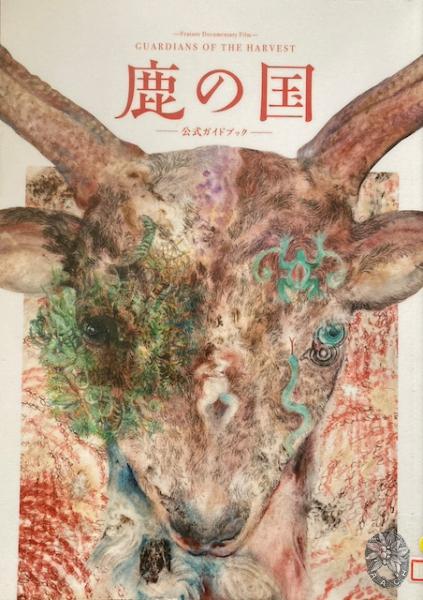
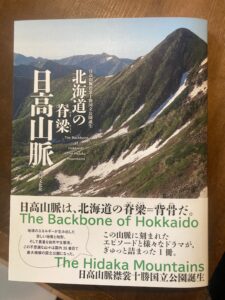
A Long-Awaited Book on the Hidaka Mountains Has Been Published
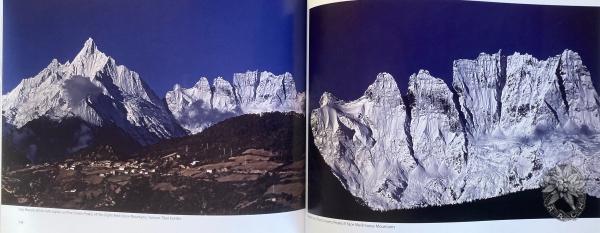
Back in the 1970s and 80s, there were large-format photo collections of the Hidaka Mountains, some of which even included aerial photography. I used to study those photographs intently every day for winter traverse terrain research. Given that the region has no established hiking trails, the only references we had were either crumpled, handwritten trip reports left in the clubroom or the club bulletins, which were at least printed and easier to read.
Even now, after all these years, I’m happy to see that the innermost parts of the Hidaka range remain untouched and pristine. The book also documents the background of the ill-fated plan for a Hidaka crossing road, which was eventually abandoned.
In truth, it’s impossible to create the kind of hiking guide that most people expect for a place like the deep Hidaka?so remote that even experienced mountaineers can’t easily access it. I can’t recall another chance like this when such a comprehensive book on the Hidaka Mountains has been published.
I was fortunate enough to contribute to this special volume.
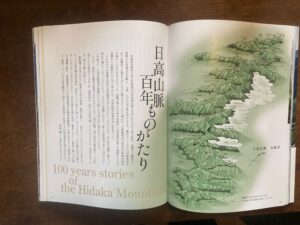
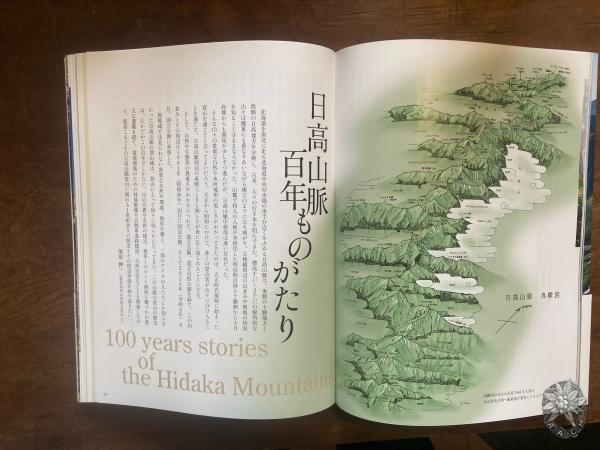
As a narrative of Hidaka’s story, it includes graphic-rich presentations of early expedition accounts from pioneers of the Hokkaido University Alpine Club’s formative years (Nobuyuki Sudo, Shugoro Ito, Osamu Aikawa), reports on accidents in Koikaku-sawa and Ju-no-sawa, the bear attack involving Fukuoka University, and the journeys of painter Chokkou Sakamoto.
Three authors?Akio Koizumi, Satoru Yoneyama, and Norihiko Matsubara?wrote beautifully about the profound appeal of the Hidaka Mountains in both winter and summer. It also includes detailed descriptions of the nearly superhuman winter long-distance traverses carried out by young alumni in the 21st century, along with the origins and development of the igloo technique, which has become a hallmark of the Hokkaido University Alpine Club.
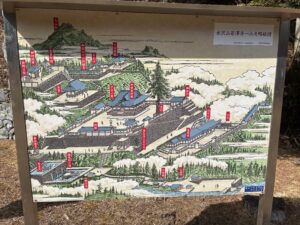
In 1990, while simultaneously working on my graduation thesis, I hand-drew a bird’s-eye map of the Hidaka range as a large fold-out supplement to the 13th issue of the club’s bulletin. I’m delighted that this piece has been republished here, now beautifully colored 35 years later. As I gaze upon it, memories come flooding back?memories of walking along each of those drawn lines with great care and affection.
The book also includes richly illustrated articles on geology, topography, and the flora of Mt. Apoi. There are fascinating explorations of two ancient mountain routes in the southern Hidaka region. Altogether, it’s a multifaceted book themed around “The Hidaka Mountains and People.”
On the cover and at the beginning of the book are brand-new photographs by Kenji Ito, an alumnus of the alpine ski team. Look closely?you might spot a bear walking across a snowfield in one of them.
It’s a large-format book, yet light in weight and pleasing to the touch. Available not only at bookstores but also on Amazon. Release date: April 27.
Published by Kyodo Bunka-sha First Edition: May 15, 2025 Editor and Author: Shinichi Kurokawa Price: 2,700 yen + tax
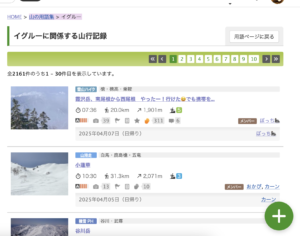
70 Igloo-Themed Trip Reports on Yamareco So Far This Season
A search for mountain trip reports on Yamareco with the word “イグルー” (igloo) in the title yielded a surprising number?70 entries already this season. If we include those who didn’t put it in the title, there are far too many to count. Clearly, igloo-building has become much more common among winter mountaineers.
Documenting Skill Progression Through Repeated Practice
Some users have compiled “summary articles” using photos to document their own igloo-building journey?starting from early attempts when they struggled to build a roof, to gradually improving over multiple tries. These are very interesting to read. One person wrote that they kept at it not because they had to, but because it was simply fun to build. I couldn’t agree more.
Although these two users never attended any official workshops, it’s clear from their photos that their skills have significantly improved:
Skills Gained Through Personal Trial and Error Are the Ones That Stick
At igloo-building workshops, I often demonstrate how to build one in 40 minutes. But that’s really just to show that “yes, it is possible to make one.” Ultimately, the skills that truly stick are the ones you gain by trying yourself, failing, thinking through the problem, and discovering your own tricks that make it work. That feeling of success is the most important part of learning.
Even if you’re taught every little step in advance, it often doesn’t stick, and it tends to lead to a passive, “waiting for instructions” mindset. The best approach is to encourage people to think and experiment on their own.
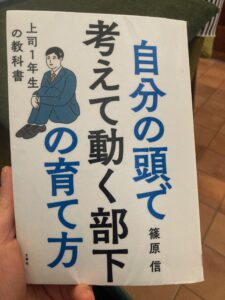
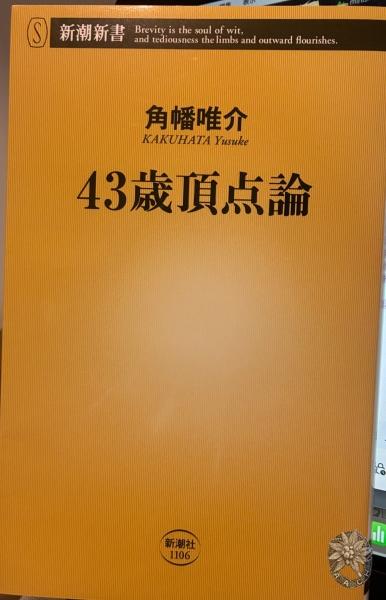
I recently read a book by Makoto Shinohara that echoed this same idea. Though I probably wouldn’t have picked it up based on the title alone, I found his Twitter commentary on energy policy and agricultural self-sufficiency during these times of change fascinating. His book provided great insights into how people learn?and this is exactly how learning works.
Igloo-Building Has Huge Potential for Personal Growth
Unlike snow caves, which anyone can dig, igloo-building tends to show a lot of individual variation. That’s what makes it so enjoyable?there’s plenty of room for creativity and personal growth, making it incredibly rewarding. It’s an activity full of charm.
Mid-Season Summary of My Own Igloo Activities
So far this season, I’ve held 10 workshops:
2 at the Matsumoto City Mountain Forum
2 with university mountaineering clubs
3 with mountaineering associations
3 with friends or small groups
In addition, I’ve spent 6 nights in igloos on my own mountain trips. I still have two long expeditions planned for the holiday period, and I expect to spend 4 or 5 more nights in igloos (I’ve been putting it off, but maybe I’ll finally head out tomorrow). This winter, I even had the intense experience of building igloos in the worst storm conditions I’ve ever faced, adding to my experience all the more.
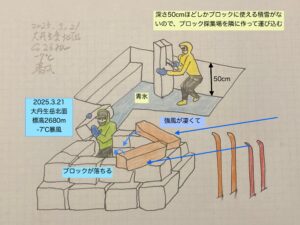
Igloo Night in the Storm Zone at Norikura-dake (Elevation 2,640m)
Crossing Norikura-dake on a Unique Route in Fierce Winds
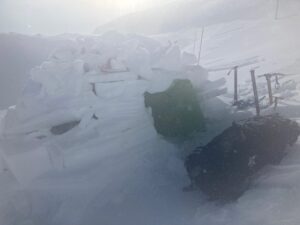
During a spring weather pattern with intense winds, I traversed Norikura-dake via a unique route. My partner’s long-established route design follows a ridge leading directly up to the sharp peak of Eboshi-dake. We spent nearly ten hours breaking trail through beautiful coniferous forests before reaching the volcanic plateau at the summit, where we entered the storm zone. A tent (not that we had one) would have been blown away for sure.
Roof Collapsing in the Wind → Ski Roof Construction
The Norikura Skyline road was covered in blue ice, requiring ice screws for traction. We found a snowdrift with packable snow deep enough for a saw to cut through, and we began constructing our igloo there. The first row of blocks was easy to carve, but beneath that was solid blue ice. We widened the block supply area, transported them, and stacked them.
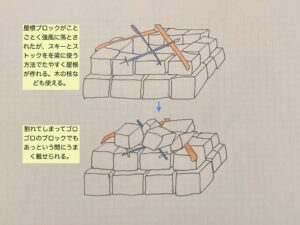
Around the third row, we attempted to place long blocks as a roof, but the wind knocked them down the moment we looked away. Every time they fell, they snapped in half. After this happened three times, we switched to using skis and poles as beams. That worked like a charm, and the roof was up in no time.
Double Layering the Windward Side to Seal Gaps
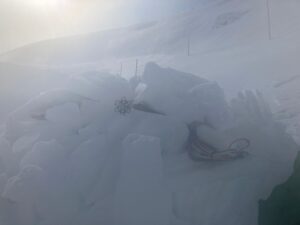
Unlike usual, I couldn’t afford to leisurely fill in the gaps. On the windward side, I added an extra exterior wall for a double-thickness defense. Even so, the powder snow carried by the ground blizzard kept infiltrating through the cracks?just like what happened to me on Mt. Fuji before.
My partner was busy collecting blocks at first, but soon, his face was covered in frost formations (sastrugi), and his glasses became useless. The wind-driven snow kept striking his eyes, blinding him from looking upwind. I had him wait under a bivy sack, though even that was a struggle to keep from being blown away.
Bivy sack Sticking to the Wall Thanks to Bernoulli’s Principle
Inside the igloo, snow was still blowing in from the gaps. But when we wrapped ourselves in a bivy sack, something curious happened?it clung to the walls without any support. The fast-moving wind outside created lower pressure compared to the inside, making the tarp stick to the surface. It was a real-life demonstration of Bernoulli’s principle?the same aerodynamic effect that makes an airplane wing generate lift. I’ve been interested in aeronautical engineering since middle school, so I recognized it immediately.
Bernoulli’s effect lasted until morning. But I sure wished the wind would die down sooner…
The Igloo Filled with Snow, but at Least the Wind Was Just Noise
The snow that blew in between the walls and the bivy sack kept creeping inside. Snow piled up on both sides, covered my sleeping bag, and eventually fell underneath me, melted from my body heat, and turned into a freezing puddle. I shivered all night, but it wasn’t life-threatening.
The wind occasionally slammed against the igloo like a powerful punch. I had simulated an emergency plan in case the walls collapsed, but fortunately, they held.
I lit my stove on my lap, only drank multiple cups of milk tea, and skipped both dinner and breakfast. By morning, the wind was still howling. I stuffed my soaking wet sleeping bag into my backpack, had to bite the bullet and push through the storm to reach safety.The visibility was a blessing. Under clear but violently windy skies, we descended to safety. The trip was only half of what we planned, but given the conditions, that was inevitable. More than anything, I felt deeply satisfied that we managed to push through.
Building an Igloo in Strong Winds with Minimal Snow
I had encountered similar conditions before on Mt. Fuji. There, with little snow, we had to stack flimsy blocks while an endless stream of granular snow particles tumbled through the gaps. That time, my companions swore they were done with igloos for good.
This time, the bivy sack inside made it somewhat bearable, though certainly not comfortable. A larger tarp might have helped if we had stretched it over the exterior, but anchoring it on blue ice would have required screws, and the wind would likely have shredded it anyway.
Of course, the best option would be to avoid camping in such places. But mountains don’t always follow orders. When faced with the unexpected, you just have to make do with what you have.
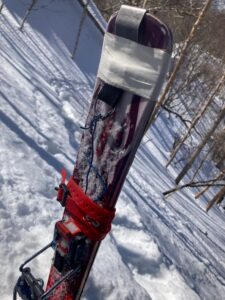
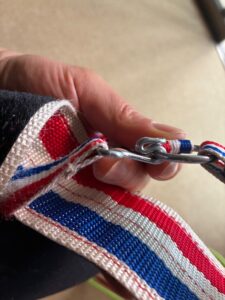
テーピングテープでシール剥がれを処置。数時間は持つ。赤いシリコンベルトは厚い手袋でも操作できてとても重宝。針金で固定する仕掛けを作ったけど、金属疲労で折れた。横ずれもして外れる。In cold temperatures, ski skins can cause issues. I use taping tape to secure peeling skins?it lasts for a few hours. The red silicone belt is extremely useful as it can be operated even with thick gloves. I once made a mechanism to secure the skins with wire, but the metal fatigued and broke. It also shifted sideways and detached.
When temperatures drop below around -15°C, adhesive skins stop sticking because fine powder snow adheres to the glue surface, preventing them from attaching to the skis. This is especially problematic during ski tours that involve repeated ascents and descents, as the ability to quickly attach and remove skins is crucial. If skins fail to stick, even a small uphill section becomes impassable. I wrap taping tape or a silicone belt around the skins to deal with this issue. A few years ago, I heard a news story about someone who panicked upon facing this problem and called for rescue, unaware of these countermeasures.
Back when I was a student at Hokkaido University (40 years ago), skins were belt-fastened rather than adhesive, so this issue didn’t exist. However, adhesive skins have become the mainstream, and belt-fastened skins are now almost impossible to find.
Even with adhesive skins, it would be ideal if they came with a belt. However, many skins have a poorly designed tail section that lacks a way to secure it once it starts peeling. I wonder how others handle this. Do backcountry skiers remove their skins after one descent and never reattach them? Or do they simply not expect to ski in extreme winter conditions? Maybe they’re unaware of the issue due to fewer extremely cold days caused by global warming.
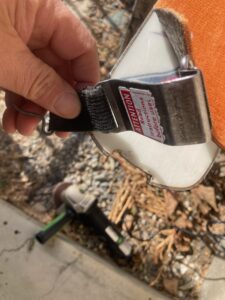
I modified my skis by cutting the tail and attaching a rubber band to the skin’s tail.
I used to make similar modifications back when belt-fastened skins were common. I cut a notch into the ski tail to prevent the metal hook from shifting sideways, then secured the skins with round rubber to prevent peeling. Nowadays, electric grinders make cutting notches in skis much easier. If elastic cord isn’t strong enough, I’ll try using a bicycle inner tube. Last time, I used wire, but repeated use caused metal fatigue, leading it to snap. Additionally, without a notch, the clip shifted sideways and detached easily.
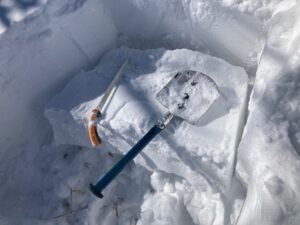
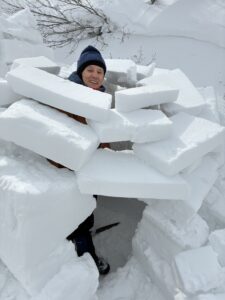
ノコギリは刃が40cmです。ちょうど刃の後ろ部分の層が「かるかた雪」です。ここだけを使います。The saw blade is 40 cm long. The layer just behind the blade is the ideal “karukata snow.” We only use this part.
湯船から下一段切り出して、もう笹が出てきた。上一段目しかできていないので、切り出し場を求めて「廊下」を作り始めます。After cutting the first layer of blocks from the “bathtub” area, bamboo grass started appearing. With only the first layer completed, I needed another source for blocks, so I began extending a “hallway” to create a new cutting area.
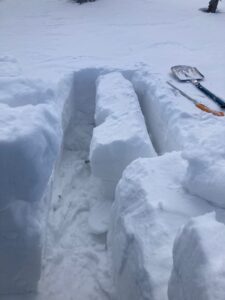
イグルー側から見た廊下の先の「ブロック切り出し場」これまではサイコロ状を切り出し続け、最初の長細いブロックを切って転がしたところ。View from the igloo: The end of the hallway where blocks are cut. So far, I’ve been cutting cube-shaped blocks. Here, the first long block has been cut and rolled.
「切り出し場」からイグルーを「廊下」越しに見たところ。廊下を通って長いブロックを屋根として積む。View from the cutting area: Looking back at the igloo across the hallway. Long blocks are transported through the hallway and stacked as the roof.
手を使ってやさしく手前に転がした。スコップでやってはいけない。両脇がハの字に切れている。これを優しく立てて、ノコで縦切りRolling the block: Using hands to gently roll it forward. Never use a shovel for this step. The sides of the block are cut in a V-shape. Carefully stand it upright and cut it vertically with the saw.
窓はもちろん富士山側にして、最後まで夕景を楽しむ。日が暮れたらサムいから、この隙間を埋めておしまい。Of course, the window faces Mount Fuji, so I can enjoy the sunset until the very end. Once the sun sets, it gets cold, so I’ll fill in this gap and call it a day.
This Time, the Snow Depth Was 60cm
Last week, I had two consecutive igloo expeditions. One of them was in the Higashiyama area of Matsumoto City, on a mountain with an altitude of just under 2000 meters. This region does not have heavy snowfall, and since it is a cold area, the fresh snow never gets a chance to melt. Over time, it also doesn’t get compacted by the weight of more snow from above. The deepest snow I found was about 60 cm. However, that was still enough to build an igloo.
In our usual training sessions, we cut blocks only from the foot area of a 1.5m × 1.5m “bathtub” space and stack them. This method works when there is sufficient snow depth, with a usable snow layer of 30 cm stacked in two or three layers.
This time, the snow depth was 60 cm, but the top 10 cm was a loose powder layer, and the bottom 10 cm had become granular due to ground heat, mixed with bamboo grass and small twigs, making it unsuitable for blocks. That left a 40 cm thick middle layer that was usable for cutting blocks.
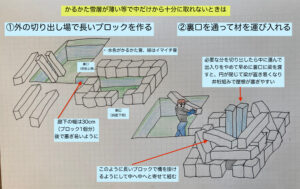
External Block-Cutting Method for Igloos in Low-Snow and Cold-Snow Areas
For a one-person 1.5m × 1.5m igloo, if the snow depth is insufficient, the first layer of blocks will be exhausted quickly, and after stacking the second layer, there will be no way to cut more blocks from inside.
To solve this, we extend a hallway outside the “bathtub” area of the igloo, allowing free movement in and out and placing the block supply point nearby. The blocks are cut as we extend the hallway. If the location is on a slope, it’s easier to transport the cut blocks if the supply area is placed uphill. Since the entrance is usually made on the lower slope side, it’s a good idea to create a separate back entrance.
Additionally, when the snow depth is shallow, there isn’t much room to expand below the snow surface. To ensure enough legroom, the igloo should be built slightly larger in advance, around 1.5m × 1.7?1.8m.
As long as the snow layer is good, working outside is much easier since there are no walls or ceilings to restrict movement. Long and sturdy blocks can be cut one after another. A recommended approach is to cut and transport multiple blocks in one go, place them in position, and then assemble the roof all at once at the end. The back “service entrance” can be quickly sealed with just a few large blocks.
Review: How to Cut Large, Long Blocks
Ensure the saw cuts align properly and fully separate the block.
Cut the sides in a V-shape, then tilt the block forward to roll it out.
A shovel is only used to create space for inserting fingers.
Using force with a shovel can break the block. Always roll it by hand.
Stand it up carefully.
Since it is heavy, lower your stance and bring your body close for control.
Cut it vertically with the saw.
Hold both sides with your left hand to prevent it from falling after the cut.
Building igloos requires different techniques depending on the season (December to May) and the snow conditions. There’s always something new to learn?it’s a deep and fascinating process.
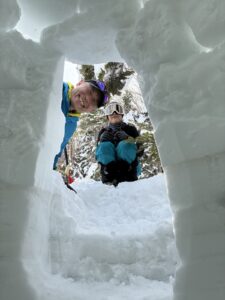
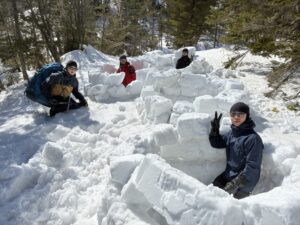
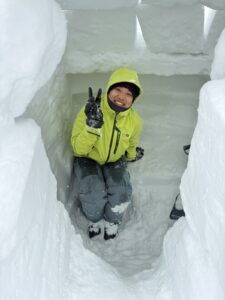
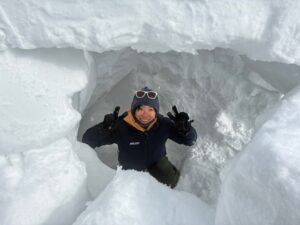
個別イグルーを地下でトンネル続きにしています。迷路みたいだよ。The individual igloos are connected underground by tunnels. It’s like a maze!
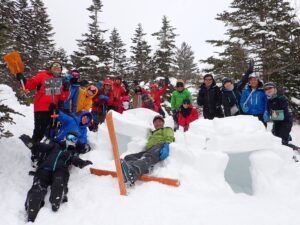
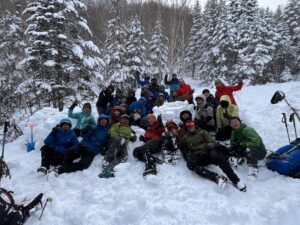
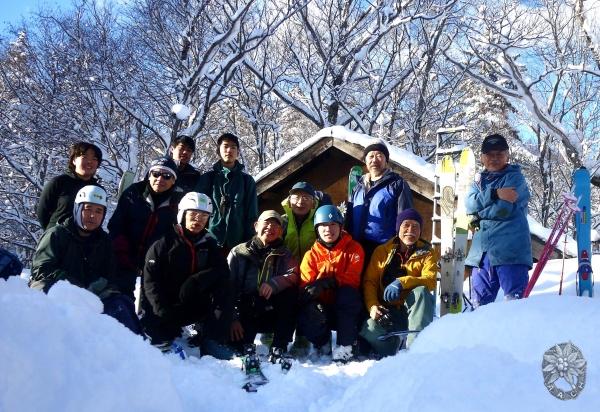
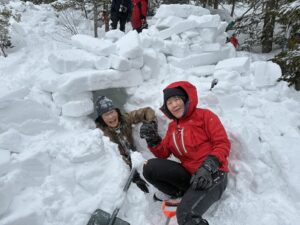
Igloo workshop@Nagoya rousan three groups
Impressions from This Session
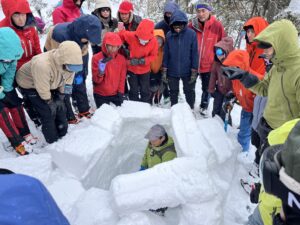
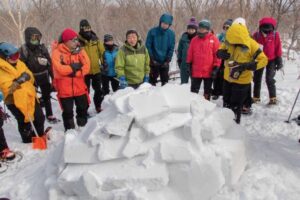
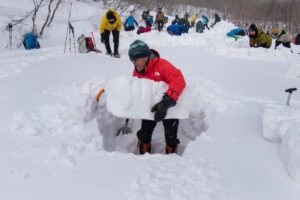
Igloo-ski demonstrated the process in 36 minutes, and then everyone tried it on their own. I was worried about the low temperature, but the sun came out, and there was no wind, making it another great day for training.
Mizutani-san, in her second attempt, quickly succeeded in sealing the roof this time and was absolutely delighted. Many others followed, successfully completing their igloos one after another.
The snow depth was over 2 meters, and those struggling with block-making kept digging deeper. As a result, many couldn’t reach the ceiling. The trench-cutting method for making blocks wasn’t working well.
Key points for improvement:
Carefully align the saw cuts.
Don’t poke the blocks with a shovel until they start moving at the cut.
When stacking blocks, don’t just place them directly on top?push them inward as much as possible, testing the limits before they fall.
After demonstrating these techniques inside the hole, things progressed much more smoothly.
Many people were using 24 cm saws instead of the recommended 30 cm ones, resulting in blocks that were too small, making it impossible to close the roof. Later, those who had finished lent their saws to others, helping them realize the difference. It became clear that igloos cannot be built properly with short saws.
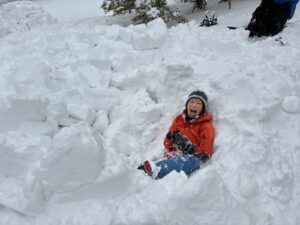
Failures lead to success. The lessons learned from mistakes are deeply ingrained, and if everyone applies them in their next attempt, I believe they will make significant progress.
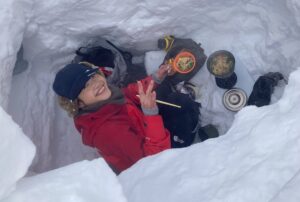
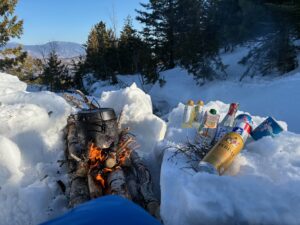
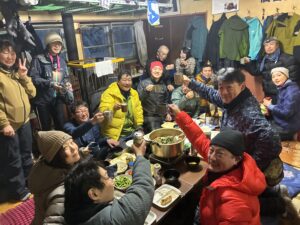
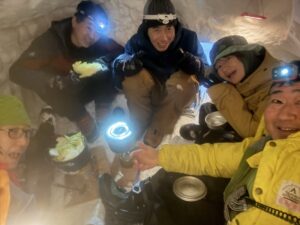
Once the igloos were completed, people enjoyed ramen inside their own igloos. The aroma of ramen filled the air at the site.
 HOME
HOME


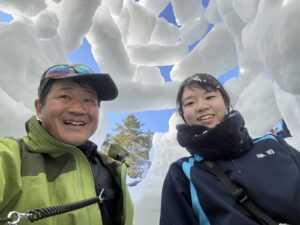
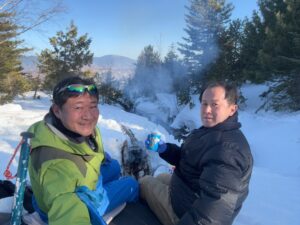
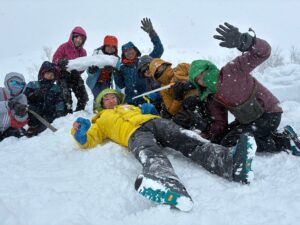
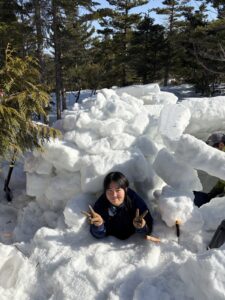 楽しかったって行ってくれた。
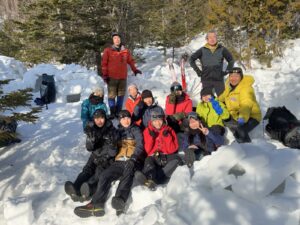


 久しぶりの、日高山脈本が出版されました